Easy Multigrain Bread Recipe Bobs Red Mill Grain Cereal
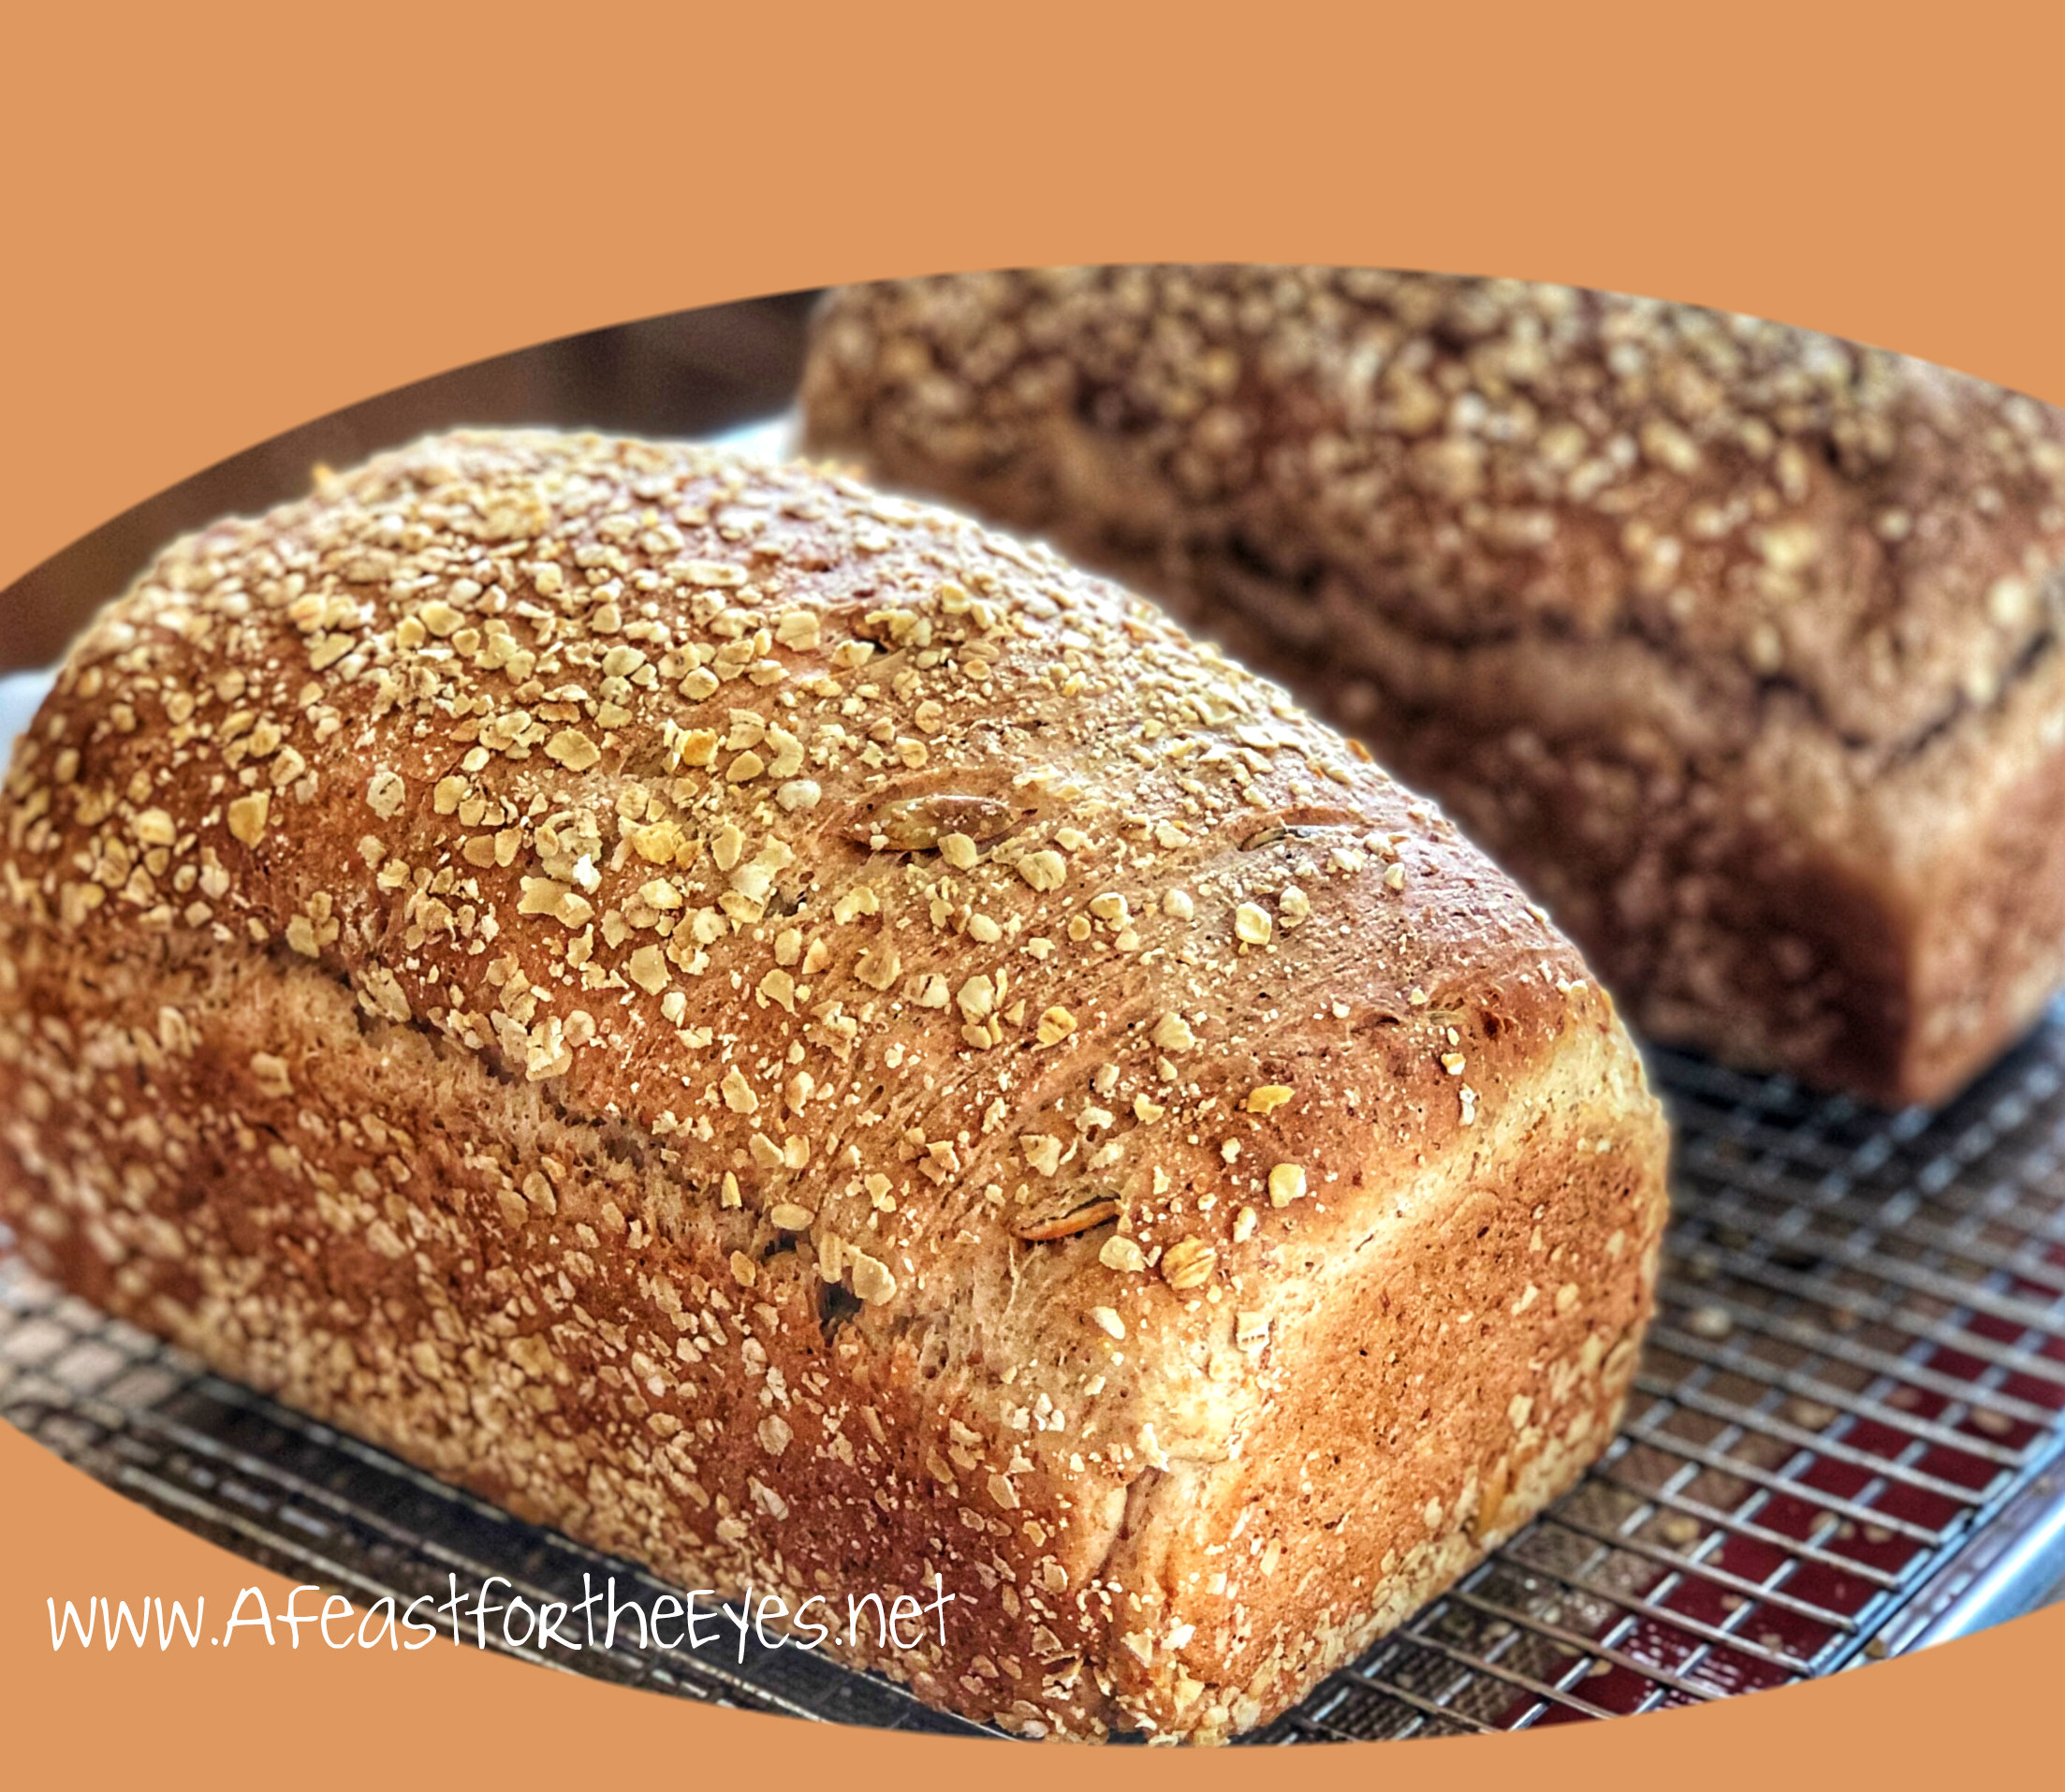
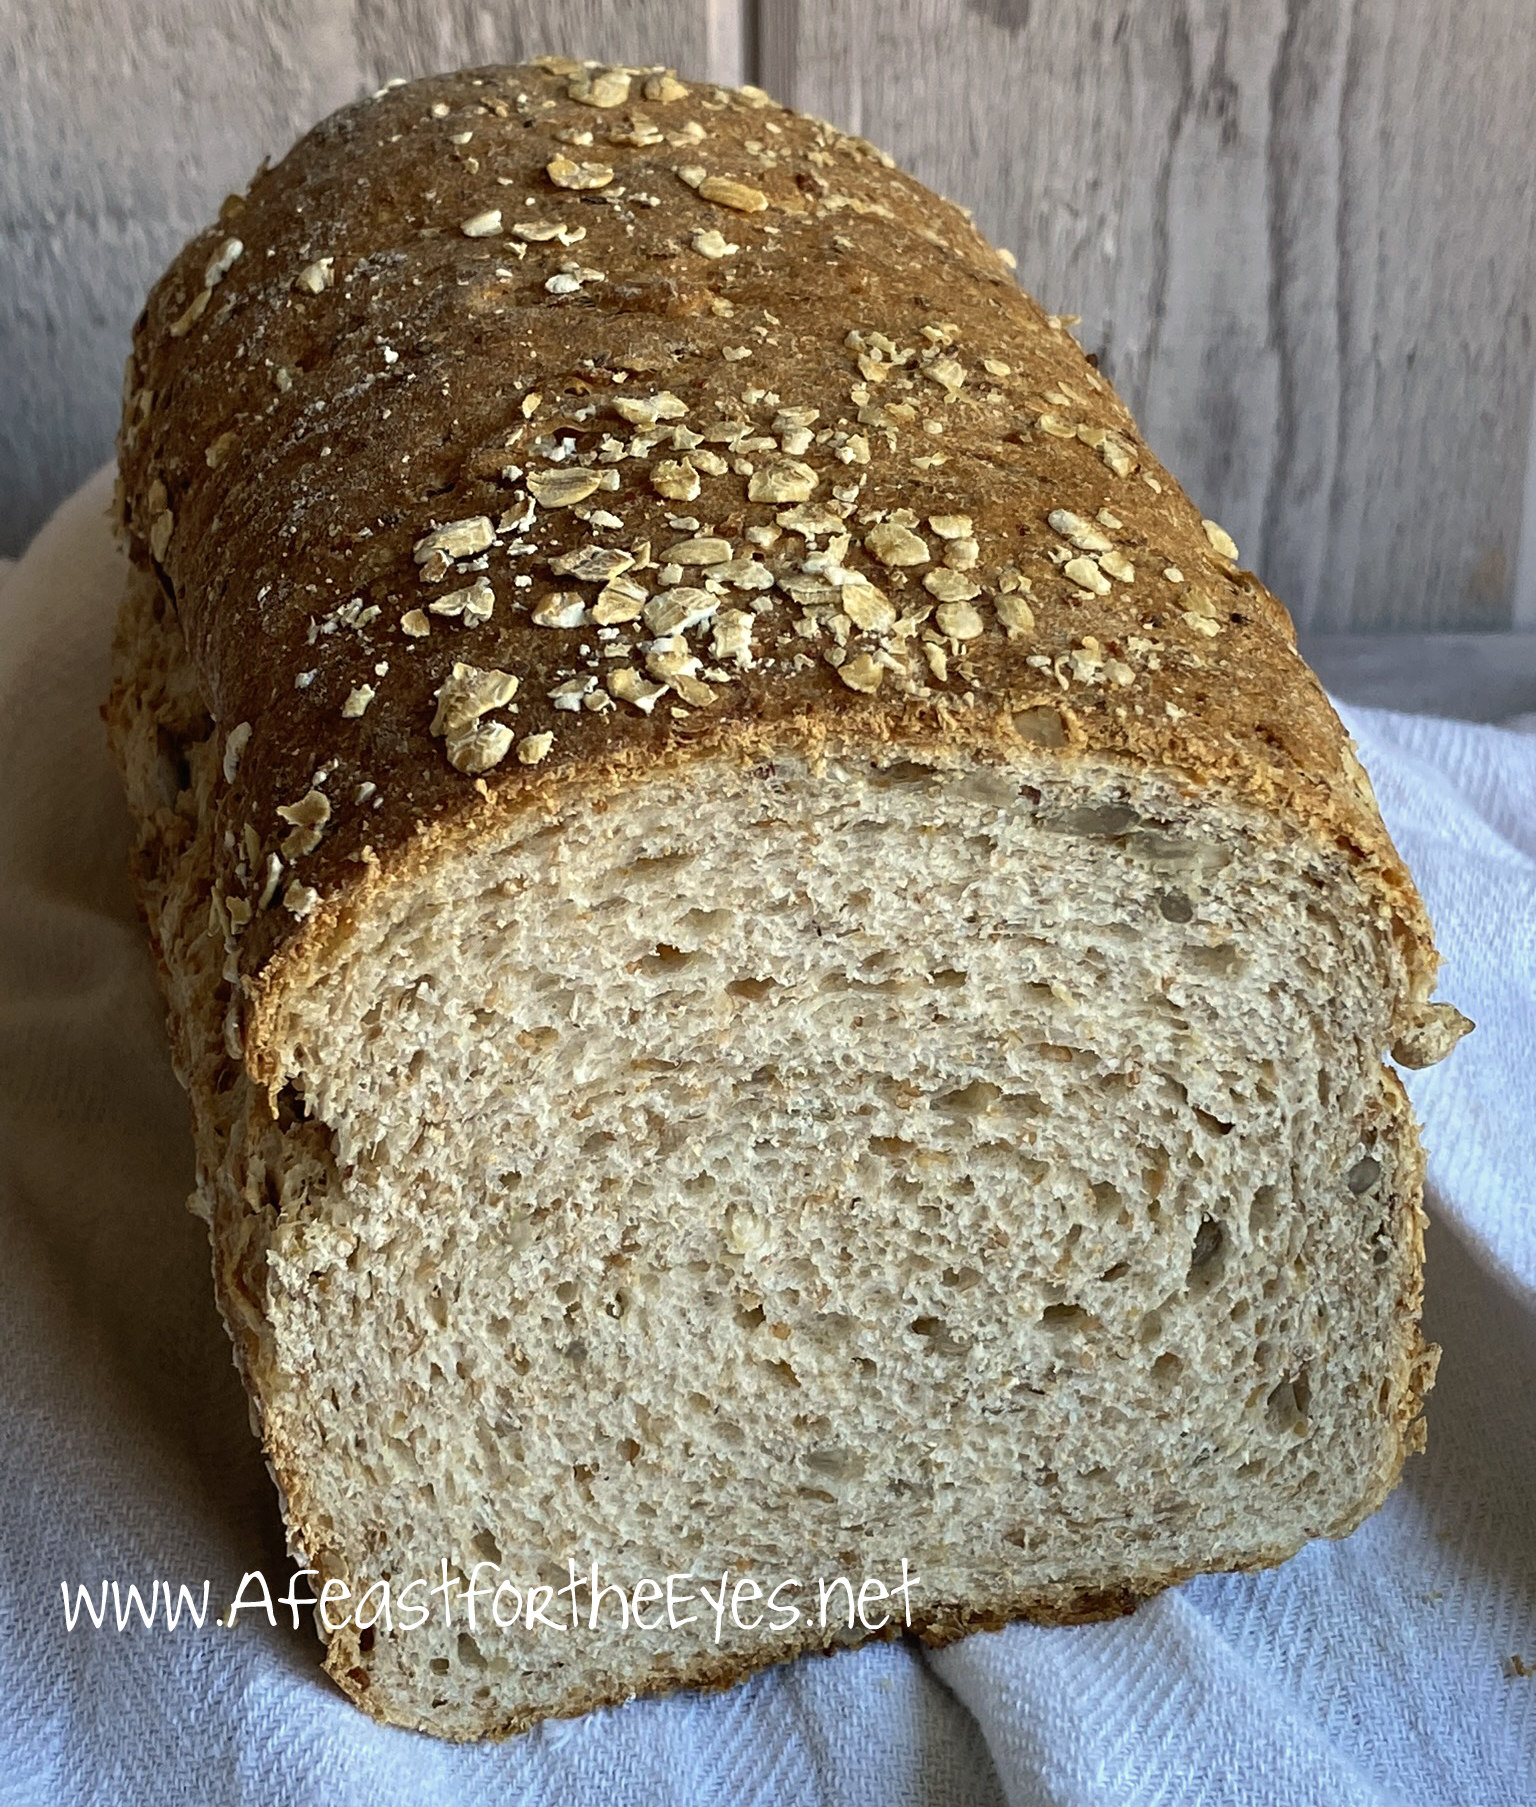
After years of searching for a multigrain bread that I can bake at home, I found "the one". The flavor is perfect, and the texture bakes up light yet chewy, without being tough The not-so-secret ingredient is using a packaged 7-Grain hot cereal. I bake this every other Sunday, because I freeze one loaf for later while enjoy one loaf with our morning toast. This makes perfect toast, grilled cheese sandwiches– or any kind of sandwich.
I don't think that anyone would argue that fresh baked bread is hard to beat. Baking homemade bread does take a little bit of practice, I know. For some, the thought of working with yeast makes them nervous. I was once of of "them". I've made a few loaves of bread, in the past, that were best used as paper weights or a door stop. I've made loaves that didn't rise, or were underbaked inside. At last, I have conquered my fear of working with yeast and I have come to love it! Bread baking is a science, but if you read the directions a few times– follow them without making any kind of deviations– the odds are in your favor that you will have success!
I stopped eating white bread a long time ago– once I reached adulthood and no longer had PBJ's in my lunch box. I switched over to eating whole wheat bread — preferably a multigrain bread. But, finding a commercially made one hasn't been easy. I've been paying about $5.00 a loaf, and my favorite brand is no longer to be found at any of the places where I shop!
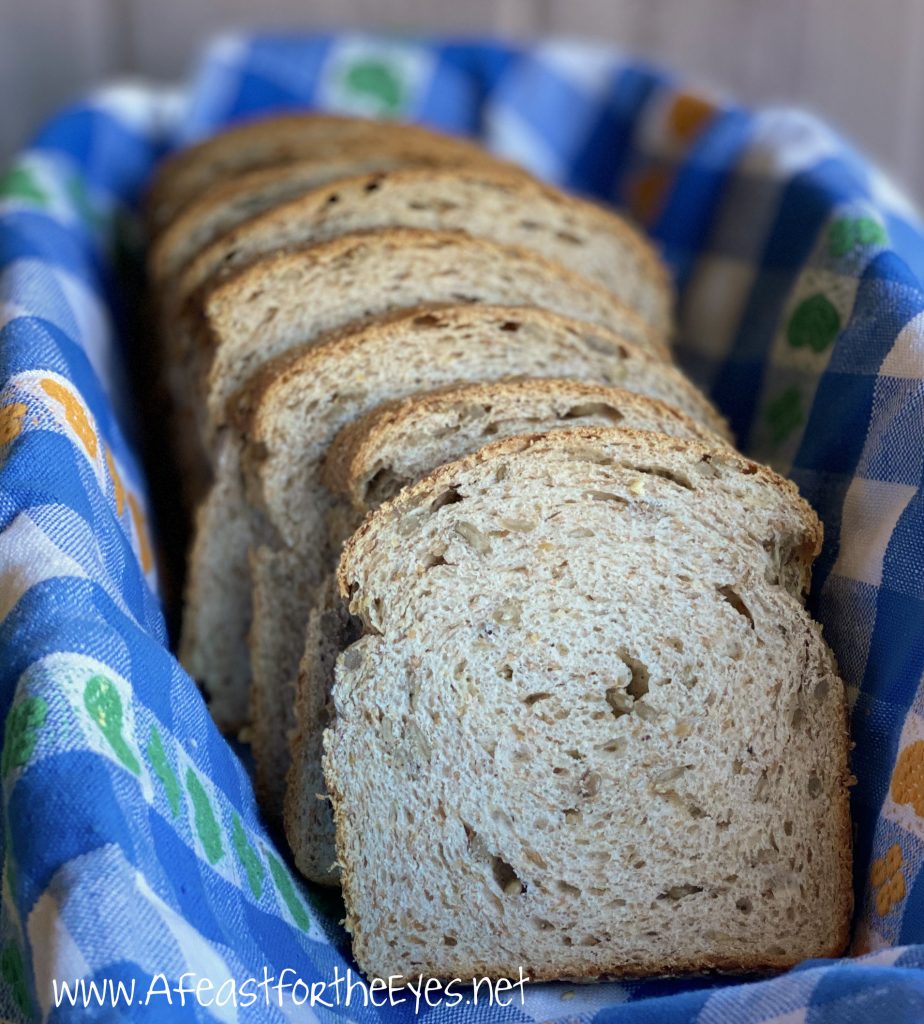
At last, I found the bread recipe that is exactly what I am looking for in a multigrain bread– flavorful, a little chewy but not tasting like wood and it's perfect for my morning toast. This is it, my readers! I have made this four times, since I took these photos– and, as I am typing this post, I have two more loaves proofing before being baked. That's how much I love this recipe! Let's get started!
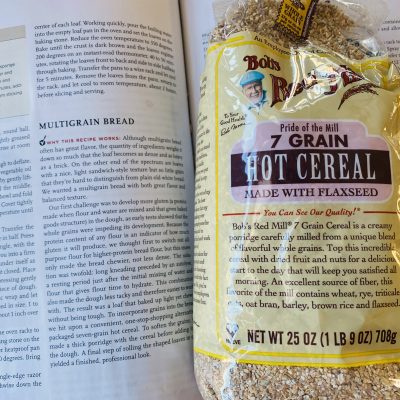
I'm a big fan of Bob's Red Mill products– and the vital ingredient for this bread is the 7-Grain Hot Cereal. I couldn't find it at any of my grocery stores, but I managed to order mine on Amazon . NOTE: I did find the 10-Grain Hot Cereal at one of my grocery stores, and I've used it for this recipe with good results as well. (You can also use Arrowhead Mills brand, as well.) Using this hot cereal is pure genius, because it contains wheat, rye, triticale, oats, oat bran, barley, brown rice and flaxseed.
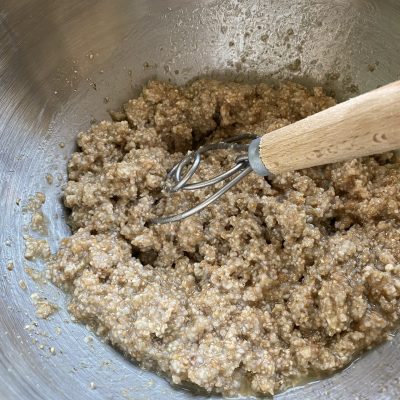
To start, boiling water is added to the hot cereal mix, stirred and cooled to about 100F– this takes about an hour.
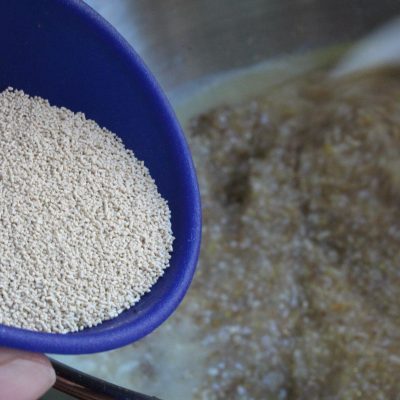
Once cooled, honey, melted butter and yeast is added (I used SAF Instant Yeast , but Fleischmann's Active Dry Yeast works as well) and stirred a bit.
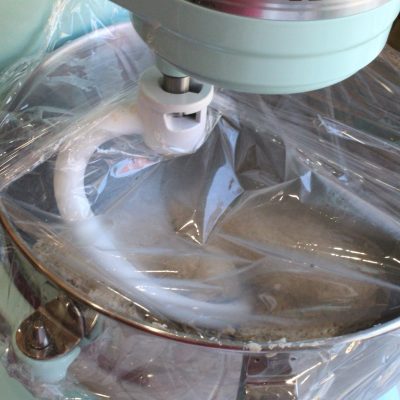
Using the low setting of my stand mixer, I let the machine mix this until it formed a ball– then covered it with plastic. I learned a new term called "autolyse" where I let this dough rest for 20 minutes. Cook's Illustrated describes this term as:
Autolyse, a resting period just after the initial mixing of water and flour that gives flour time to hydrate. This combination also made the dough less tacky and therefore easier to work with. The result was a loaf that baked up light yet chewy, without being tough.
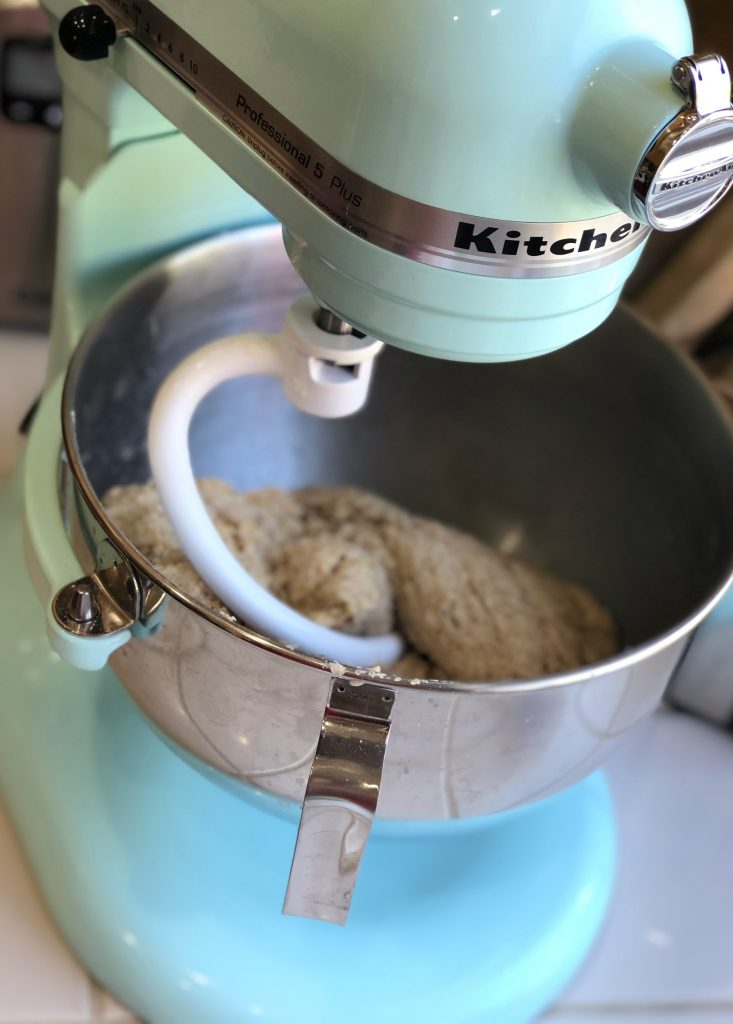
There are three ways to knead dough– with your hands and some elbow grease, with a bread machine or (my favorite) with a stand mixer. For Christmas, my husband encouraged me to upgrade my Kitchen Aid Tilt Model Stand Mixer for Bowl-Lift Kitchen Aid Pro Stand Mixer . I have to say that this machine is amazing for bread baking! I love the "pig-tail" attachment that kneads dough better than I imagined was possible. WARNING: You will be seeing a lot more bread dough recipes in the coming weeks, because I've been baking a lot of them! The dough is ready for it's first "proof" (rise).
At this point, you can add either pumpkin or sunflower seeds. I've tried it both ways– and our personal preference is sunflower seeds.
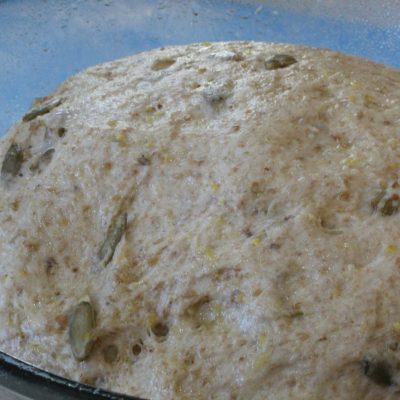
It takes about an hour for the dough to have doubled, so now it's time to shape the loaves.
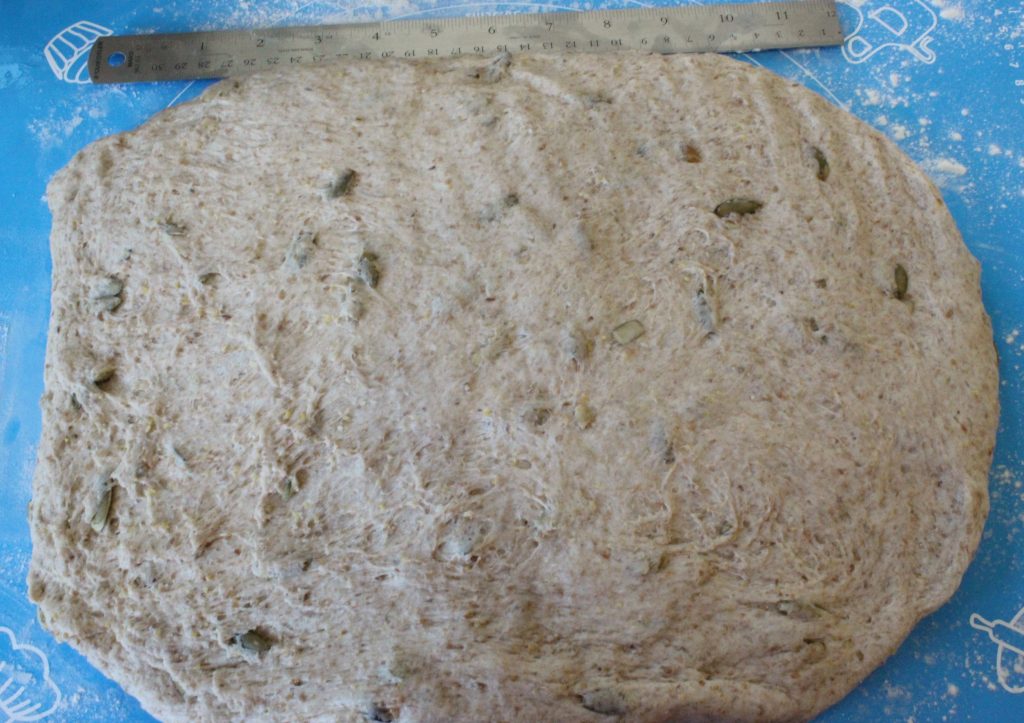
I've gently pressed the dough into a large rectangle, cut it in half…
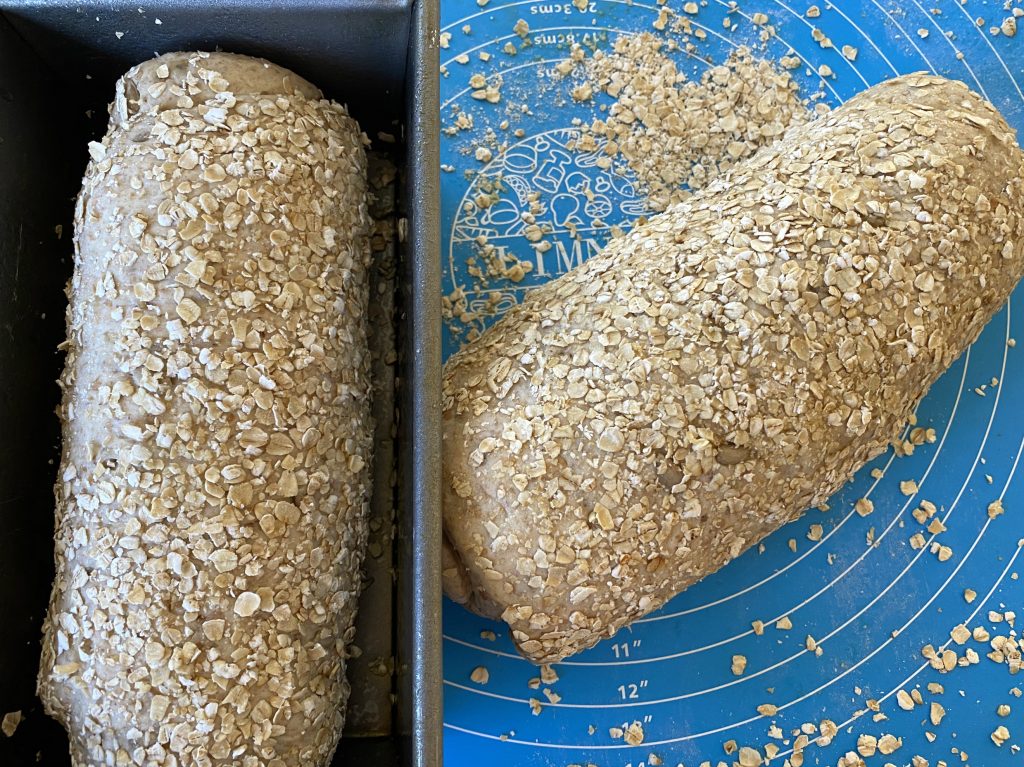
Then, rolled it and shaped it into a loaf — then sprayed a little oil and rolled the loaves into some oatmeal flakes, then set it into my bread pans.
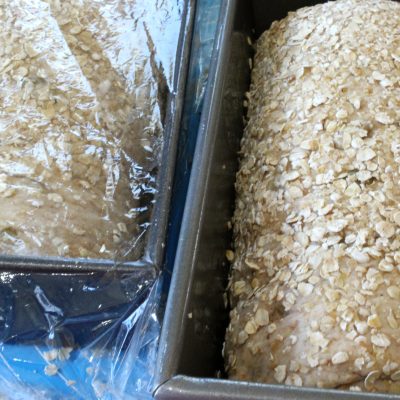
The plastic-covered (or damp towel) covered pans are going to proof for about another hour.
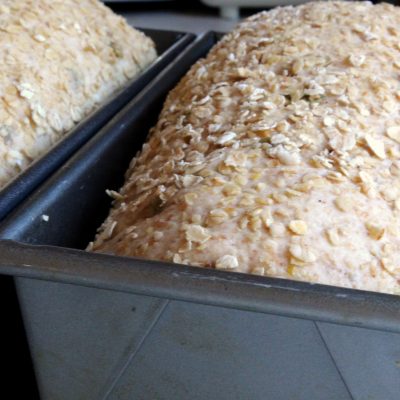
Perfect! A light touch of my finger has the dough feeling tender and proofed enough to bake. The oven is preheated to 375F.
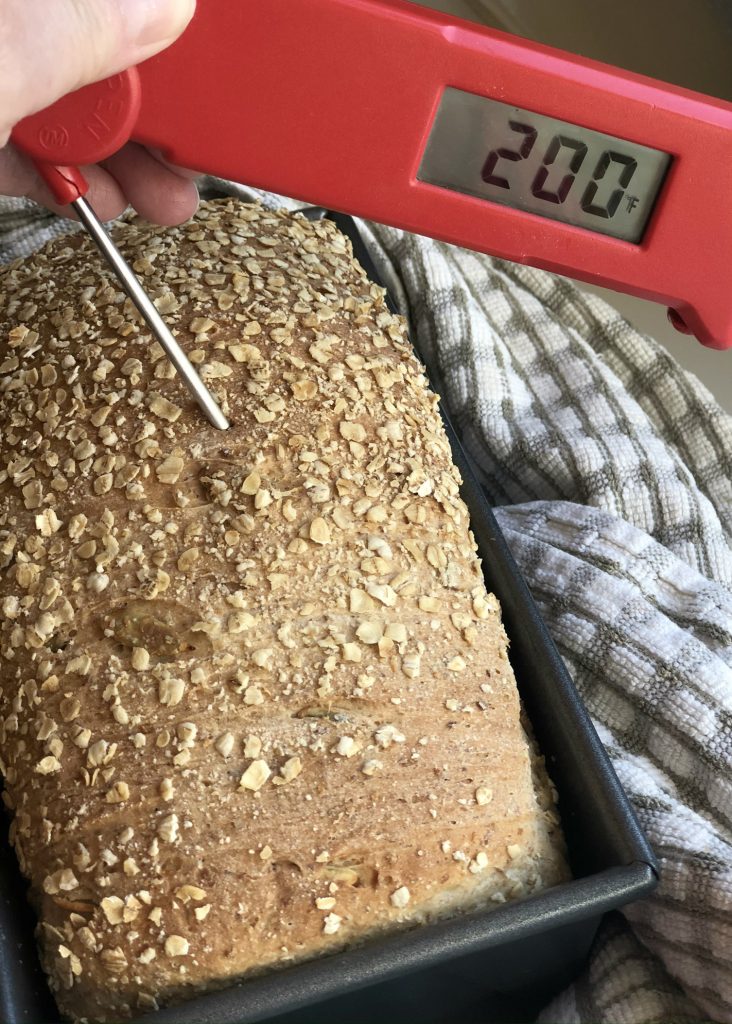
Perfect! 200F is just the right temperature to know that the bread has baked properly. Oh, the aroma!
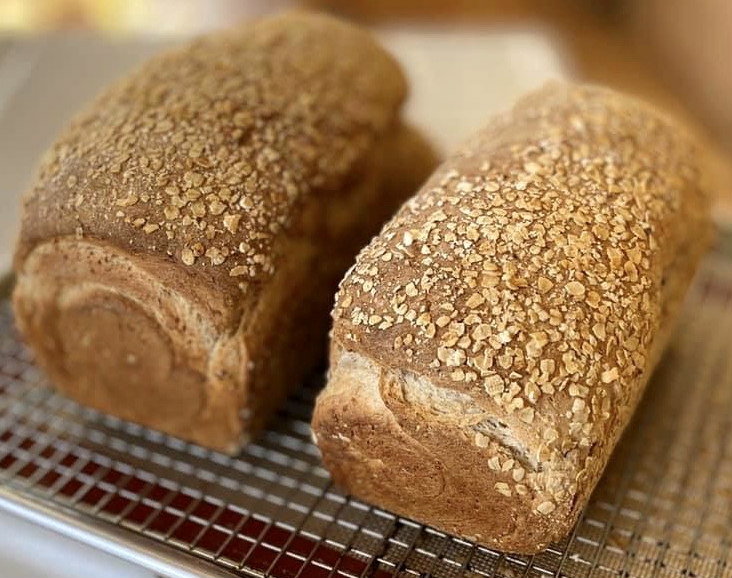
Carefully remove the loaves from the pan, and set on a cooling rack. As tempting as it seems, I resist slicing into the bread before it has cooled. For one, slicing into hot bread can have the potential of "smooshing" the loaf.
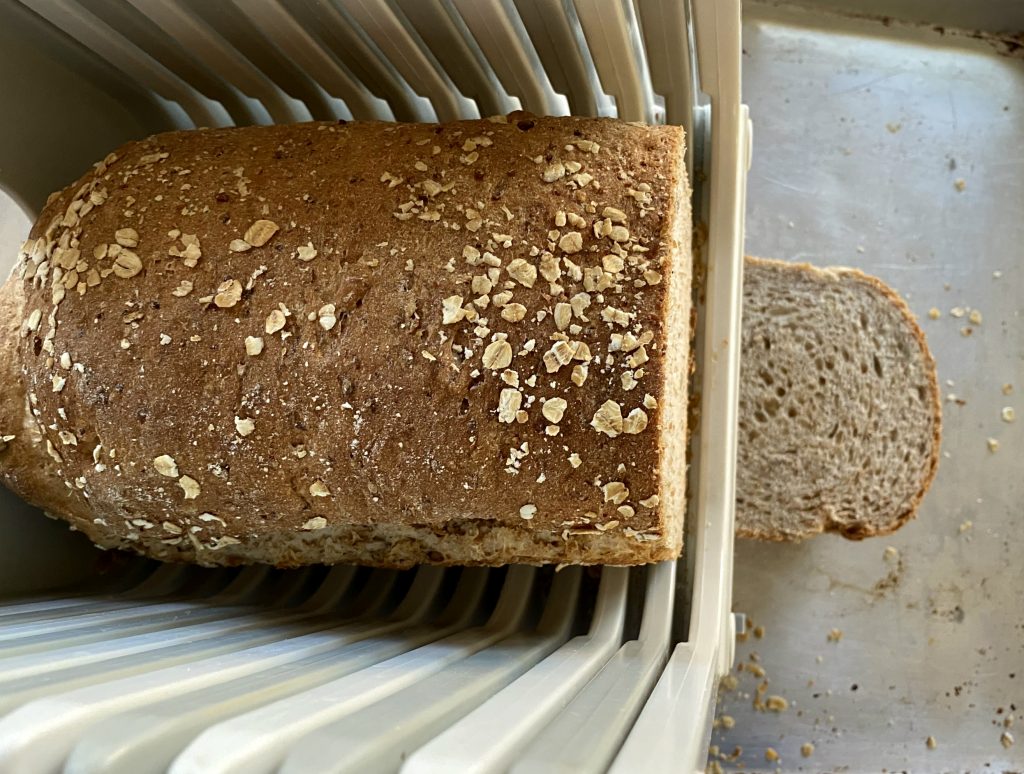
I have owned a Presto Bread Slicing Guide and electric knife for decades. Sadly, they just aren't made any longer (but I've seen them on eBay for around $30.00). I love mine, because I get even and perfect slices every time!
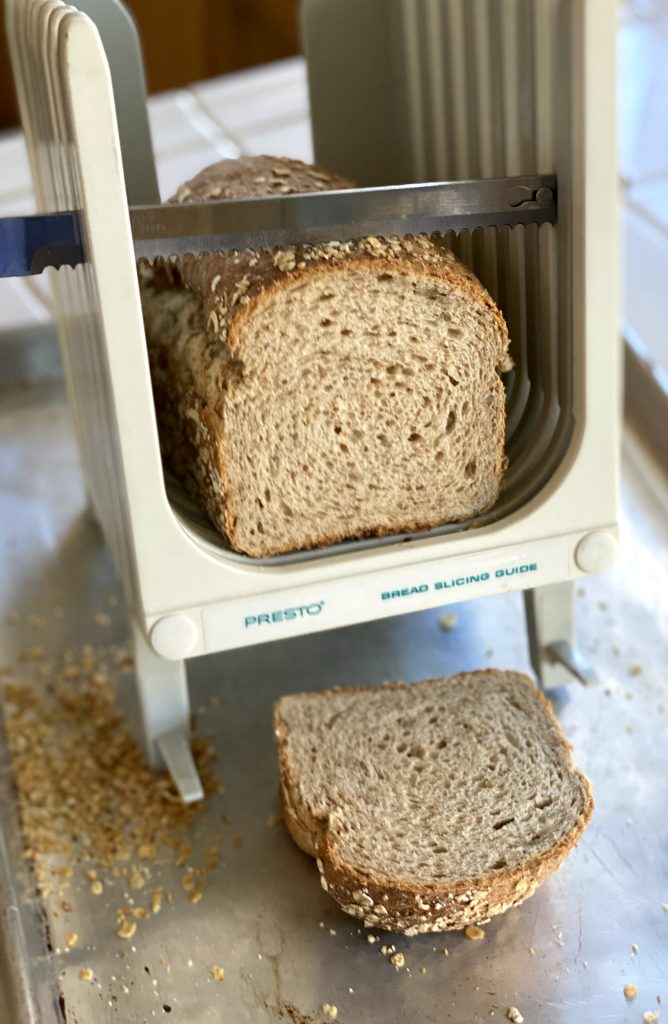
Just be sure to use a serrated knife. My favorite bread knife is this one. I like to slice both loaves, wrap them in plastic wrap and then foil. They freeze beautifully!
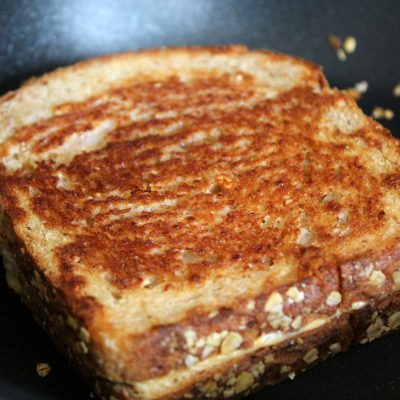
TASTING NOTES: Hands down, this bread is a clear winner! The more I make this dough, the more I appreciate the beautiful texture of working with it. I find that the small amount of kneading that I do (to incorporate the sunflower seeds) reminds me of the Play Dough of my youth.
BREAD BAKING SIMPLE TIPS: Here are a few bread baking tips that help me to be more successful. Don't be discouraged if some of your attempts fail. Learn from them and you will get better and better. My best instructions have been from watching videos on America's Test Kitchen (I have a paid all-access subscription). King Arthur Flour is one of my favorite recipe sources, plus their Baker's Hotline is free to call–and the bakers are always super helpful and friendly.
- Read the recipe, thoroughly, and mentally "rehearse" the steps in your mind's eye
- Make sure that your yeast isn't out of date (I store mine in the refrigerator or the freezer)
- Mise en Place ("Mess in place") will help with your success. I have an assortment of bowls so I can measure everything out, in advance.
- Yeast likes to be cozy and warm. The best temperature for dough to "proof" is between 70F-80F. I turn on my oven setting to WARM for three minutes, then shut it off. Or, you can proof dough in your microwave (turned off, of course).
The Best Multigrain Bread
After years of searching for a multigrain bread that I can bake at home, I found "the one". The flavor is perfect, with the perfect texture– baked up light yet chewy, without being tough The not-so-secret ingredient is using a packaged 7-Grain hot cereal. I bake this every other Sunday, because I freeze one loaf. This makes perfect toast, grilled cheese sandwiches– or any kind of sandwich.
Servings: 32 Slices
Calories: 137 kcal
- 6 ¼ ounces 7-grain hot cereal mix 1 1/4 cups; Recommended Bob's Red Mill
- 20 ounces boiling water 2 1/2 cups
- 15 ounces unbleached all-purpose flour 3 cups; plus extra for dusting work surface
- 7 ½ ounces whole-wheat flour 1 1/2 cups
- 4 tablespoons honey
- 4 tablespoons unsalted butter melted and cooled slightly
- 2 ½ teaspoons instant yeast
- 1 tablespoon table salt
- ¾ cup sunflower seeds or pumpkin seeds (unsalted)
- ½ cup old-fashioned rolled oats or quick oats
INSTRUCTIONS
-
Place cereal mix in bowl of standing mixer and pour boiling water over it; let stand, stirring occasionally, until mixture cools to 100 degrees and resembles thick porridge, about 1 hour.
-
Whisk flours in medium bowl.
-
Once grain mixture has cooled, add honey, melted butter, and yeast and stir to combine.
Attach bowl to standing mixer fitted with dough hook. With mixer running on low speed, add flours, 1/2 cup at a time, and knead until dough forms ball, 1 1/2 to 2 minutes; cover bowl with plastic and let dough rest 20 minutes.
Add salt and knead on medium-low speed until dough clears sides of bowl, 3 to 4 minutes (if it does not clear sides, add 2 to 3 tablespoons additional all-purpose flour and continue mixing); continue to knead dough for 5 more minutes.
Add seeds and knead for another 15 seconds.
Transfer dough to floured work surface and knead by hand until seeds are dispersed evenly and dough forms smooth, taut ball.
Place dough into greased container with 4-quart capacity; cover with plastic wrap and allow to rise until doubled, 45 to 60 minutes.
-
Adjust oven rack to middle position; heat oven to 375 degrees.
Spray two 9 by 5-inch loaf pans with nonstick cooking spray.
Transfer dough to lightly floured work surface and pat into 12 by 9-inch rectangle; cut dough in half crosswise with knife or bench scraper.
Shape loaves, spray a light coating of neutral oil and roll over oats to coat; cover lightly with plastic wrap and let rise until almost doubled in size, 30 to 40 minutes. (Dough should barely spring back when poked with knuckle.)
Bake until internal temperature registers 200 degrees on instant-read thermometer, 35 to 40 minutes. R
Remove loaves from pans and cool on wire rack before slicing, about 3 hours.
Recipe source: America's Test Kitchen
Don't confuse 7-grain hot cereal mix with boxed, cold breakfast cereals that may also be labeled "7-grain." Our favorite brands of 7-grain mix are Bob's Red Mill and Arrowhead Mills. Leftover bread can be wrapped in a double layer of plastic wrap and stored at room temperature for 3 days; wrap with an additional layer of aluminum foil and the bread can be frozen for up to one month.

torresauntrunt1959.blogspot.com
Source: https://afeastfortheeyes.net/2020/01/the-best-multigrain-bread.html
0 Response to "Easy Multigrain Bread Recipe Bobs Red Mill Grain Cereal"
Post a Comment